
Last updated November 4, 2026
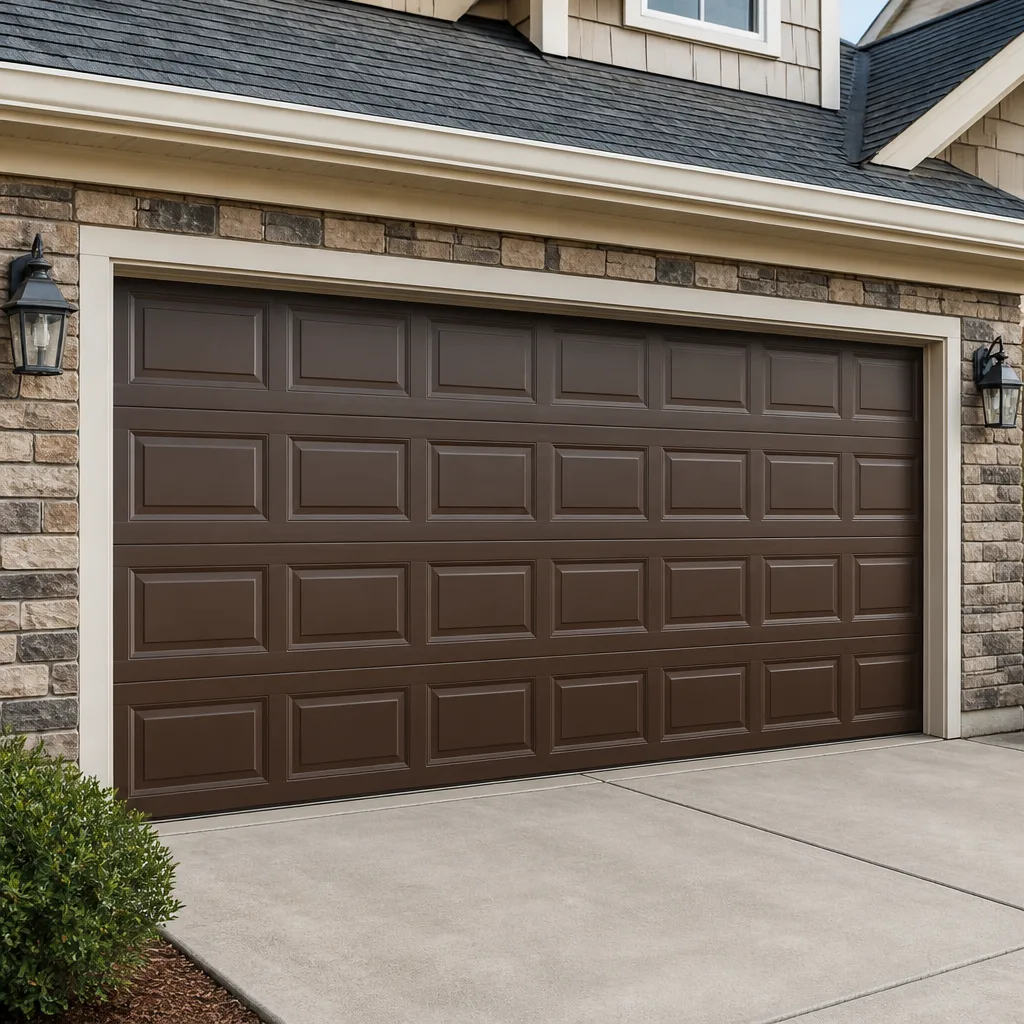 Raised-panel steel
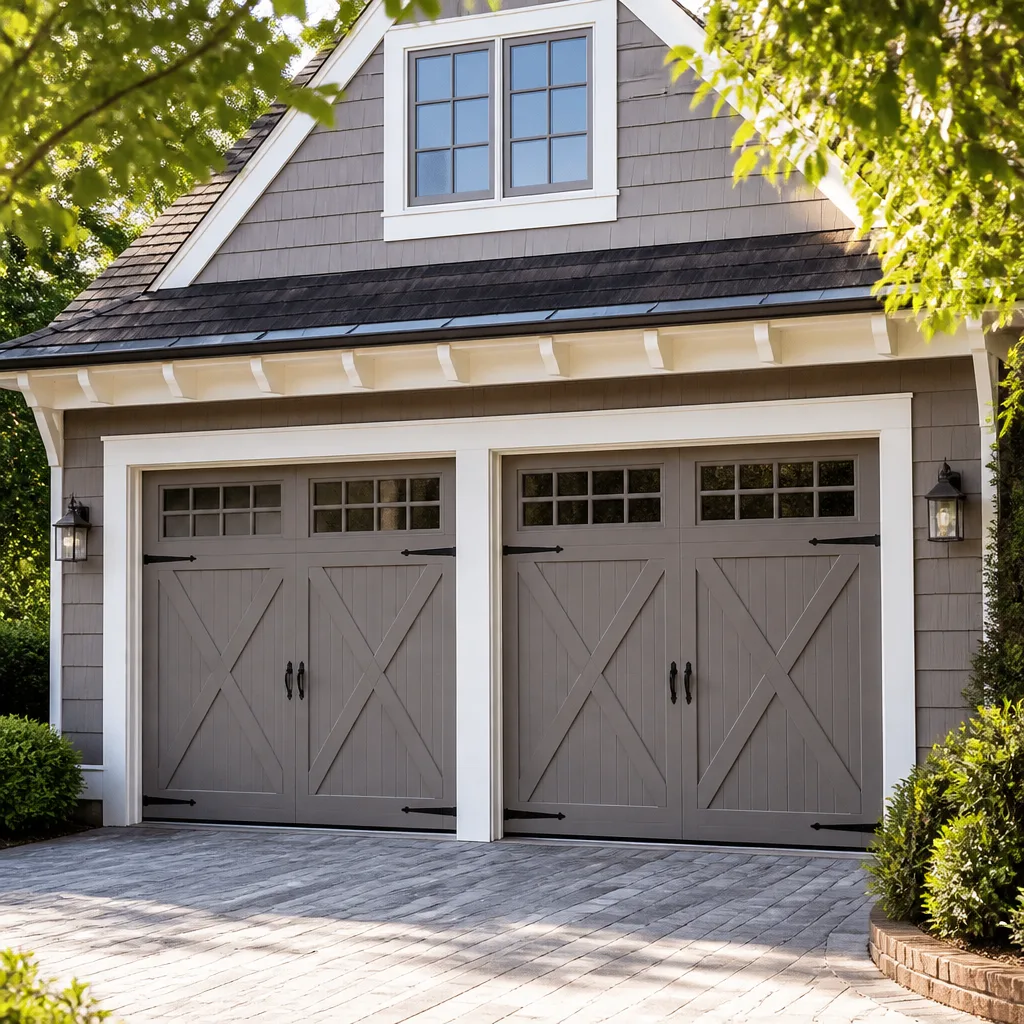 Carriage house
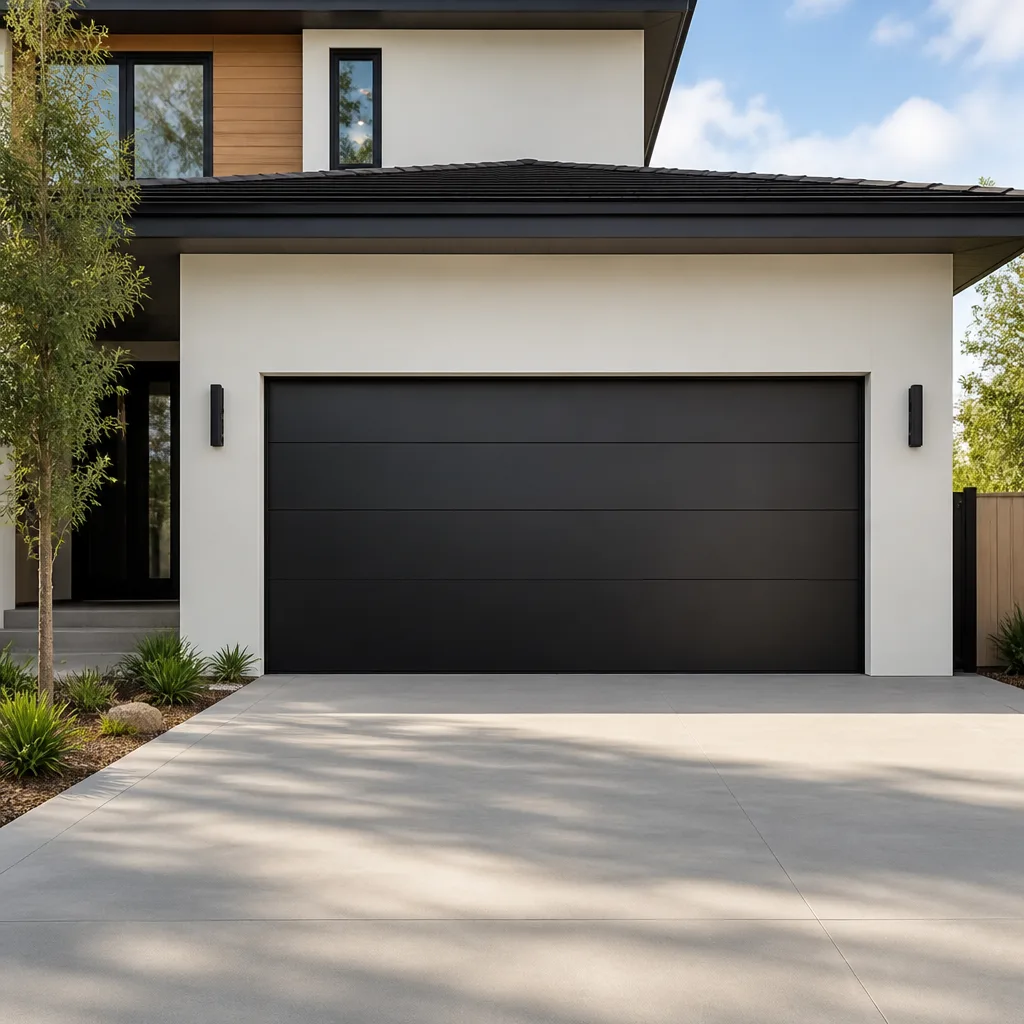 Modern flush
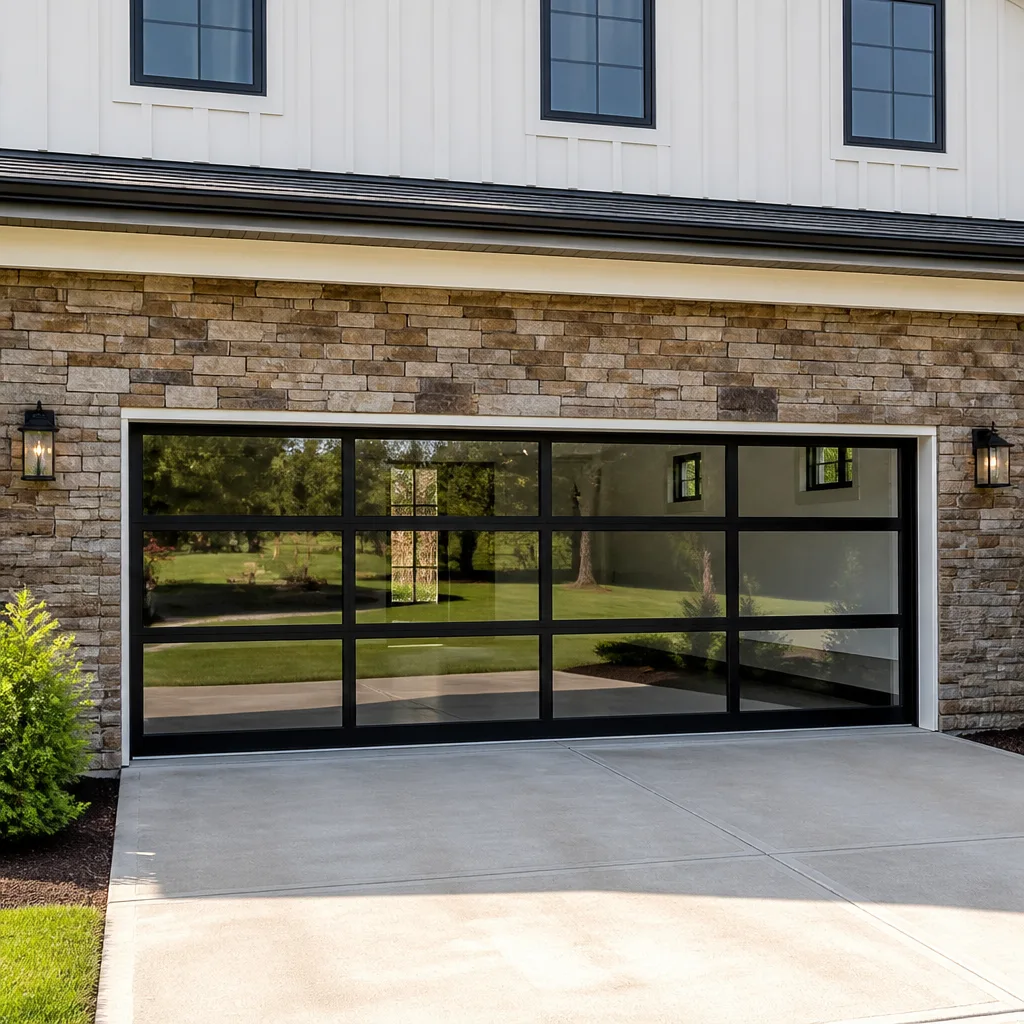 Full-view glass
 LiftMaster openers
 Chamberlain openers
Full 25-point door and opener safety check with every visit - springs, cables, rollers, tracks, and your LiftMaster or Chamberlain opener included
You get a price before we start. It does not change when the truck arrives.
Get your free estimateDIY vs Professional Garage Door: The Pico Rivera Homeowner’s Decision Guide
Most homeowners don’t realize that the garage door is the heaviest moving object in their house. A standard double-wide steel door weighs between 250 and 400 pounds, and every cycle of opening and closing puts that weight through a system of springs, cables, and rollers that eventually wears out. The real question isn’t whether you can pick up a wrench. It’s whether the specific task in front of you sits on the safe side of a very hard line. This guide walks you through exactly which jobs make sense for a Saturday afternoon in Pico Rivera, which ones need training and calibrated tools, and which ones should never be attempted without professional equipment.
Quick Answer
Most garage door maintenance and minor fixes are safe DIY projects for Pico Rivera homeowners: lubrication, sensor realignment, remote reprogramming, and weather seal replacement. Replacing torsion springs, cables, or full door sections is not DIY work, full stop. The energy stored in a wound torsion spring can release without warning, and a mistake there sends people to emergency rooms every year. If the job involves lifting the door’s weight, call a professional.
Styles & brands we work with
- Raised-panel steel
- Carriage house
- Modern flush
- Full-view glass
- LiftMaster openers
- Chamberlain openers
Table of Contents
- The Real Risk Calculation Behind DIY Garage Door Work
- What’s Genuinely Safe DIY: Lubrication, Sensors, and Programming
- The Middle Ground: Tasks That Need Skill But Not a Pro
- What Should Never Be DIY: Springs, Cables, and Loaded Systems
- The Honest Cost Comparison: When DIY Saves and When It Costs More
- Permits, Liability, and Insurance for DIY Garage Work in California
- What to Do When a DIY Attempt Goes Wrong
- Common Mistakes to Avoid
The Real Risk Calculation Behind DIY Garage Door Work
Here’s what most homeowners miss when they search for DIY garage door advice online. The risk profile changes completely depending on which component you’re touching. A misaligned safety sensor is an annoyance that won’t hurt anyone. A torsion spring under full tension is a different category entirely.
Think about it in terms of stored energy. A torsion spring on a typical Pico Rivera home stores enough force to lift that 300-pound door every time you press the opener button. When that spring snaps, either because it rusted through after years of Southern California heat cycles or because it simply reached the end of its service life, all that energy releases at once. That’s the moment most injuries happen, often because a homeowner was in exactly the wrong place when the spring let go.
In our experience, the homeowners who get hurt aren’t careless. They’re methodical, patient people who watched a tutorial and thought they understood the mechanics. The problem is that a video can’t teach you how to feel the spring’s tension through a winding bar, or what it sounds like when a set screw strips mid-wind, or how to recognize the specific wobble that means a cable is about to come off the drum. Those are judgment calls that come from handling hundreds of springs.
The honest framing is this: some garage door tasks carry near-zero risk when done correctly, and those are the ones worth learning. Others carry serious physical risk the moment something deviates from the tutorial, and no amount of careful watching closes that gap. The rest of this guide draws that line task by task.
What’s Genuinely Safe DIY: Lubrication, Sensors, and Programming
Good news first: several common garage door issues in Pico Rivera are genuinely safe to fix yourself. These tasks don’t involve lifting the door’s weight, touching loaded springs, or standing under a suspended panel. They’re also the fixes that solve a surprising number of “my garage door won’t close” complaints without a single part replaced.
Lubrication: The Most Overlooked 15-Minute Fix
A garage door that groans, squeaks, or grinds often just needs lubrication. The dry, dusty air around Pico Rivera accelerates this: lubricant breaks down faster, dust settles into moving parts, and rollers start binding against the track. Here’s the right sequence:
- Unplug the opener. Disconnect the motor before you touch anything. This removes the risk of the door activating while your hands are on the track.
- Clean the tracks first. Don’t lubricate dirty tracks. Wipe them down with a dry cloth to remove dust and grit. Do not grease the tracks themselves. Grease here traps debris.
- Lubricate the rollers. Use a silicone-based lubricant or white lithium grease on the roller bearings and stems. Skip the rollers’ wheels against the track surface.
- Lubricate the hinges and pivot points. Every hinge pin along each panel benefits from a small drop. Work the door manually after to spread it.
- Finish with the spring. A light spray along the torsion spring keeps coils from binding. Do this with the door closed so the spring is under less tension.
Do this twice a year and you’ll notice the door moves quieter and the opener doesn’t strain as hard. That extends the life of the motor and the springs.
Safety Sensor Realignment
Photo-eye sensors sit on either side of the door, about six inches off the ground. When they’re misaligned, the beam between them breaks and the door refuses to close. This is the most common non-mechanical issue we hear about from Pico Rivera homeowners, and it’s usually a 10-minute fix.
- Check the LED lights on both sensors. Most show green when aligned, red or yellow when not.
- Clean the lenses. Dust and spider webs interrupt the beam. A dry, soft cloth does it.
- Loosen the wing nut on the misaligned sensor’s bracket. Adjust the sensor body until the LED turns green on both units.
- Tighten the nut gently. Over-tightening cracks the plastic housing.
- Test. Press the wall button or remote. If the door still reverses or refuses to close, the sensors may be worn rather than misaligned. That’s the point to call for garage door opener repair.
Remote and Keypad Reprogramming
Whether you’ve got a LiftMaster with myQ built in or an older Craftsman clicker, reprogramming a remote is straightforward. The exact sequence varies by model, but it always follows the same shape: locate the Learn button on the opener head, press it to enter pairing mode, then press the remote button. Most manuals walk you through it in under five minutes. The one thing to remember is that wiping the opener’s memory clears all remotes, not just the one you’re replacing. So if you’re swapping a single dead remote, use the add-a-remote option if your model has one, rather than wiping and re-adding everything.
These three categories are legitimate DIY. They’re low-risk, reversible, and they keep your door working between professional visits. Learning to do them well is time well spent.
The Middle Ground: Tasks That Need Skill But Not a Pro
Between the safe DIY work and the jobs that should never be attempted, there’s a middle band. These tasks won’t seriously injure you if something goes wrong, but they require more than casual enthusiasm. You’ll need the right tools, some patience, and a willingness to accept that you might not get it right the first time. Think of these as “advanced homeowner” territory.
Weather Seal Replacement
The flexible rubber strip along the bottom of your garage door blocks dust, leaves, and the occasional Pico Rivera critter from making its way inside. It wears out after a few years, especially on doors that face direct afternoon sun. Replacing it is a mechanical job: slide out the old seal from the bottom retainer, cut the new one to length, feed it through, and trim the ends. Most homeowners can do this in under an hour with tin snips and a flathead screwdriver. The main risk is buying the wrong seal profile for your specific door, which is understandable given how many designs exist. If you know your door brand, like a Raynor or a Wayne Dalton, picking the right part gets much easier. If you’re unsure, measure the retainer channel and match it to the seal’s T-end dimensions before buying.
Track Cleaning and Minor Alignment
Cleaning the vertical and horizontal tracks is simple maintenance; adjusting them is a judgment call. If the track is visibly bent, twisted, or separated from the wall, that’s not a homeowner adjustment. But if the track is simply dirty, wipe it down and see whether the door moves more smoothly. For a minor adjustment where the track is slightly out of plumb, you can loosen the mounting brackets and nudge the track a fraction of an inch, then re-tighten. The key phrase is “a fraction.” Anything more than a small adjustment and the door binds mid-cycle, which strains the opener and can pull a cable off the drum. If you try this and the door doesn’t move freely by hand after the adjustment, you’ve reached the limit of what’s reasonable to attempt on your own.
Insulating an Existing Door
Pico Rivera doesn’t see the extreme cold that makes garage insulation a necessity, but homeowners with attached garages still benefit from reducing heat transfer into the house during summer. Adding reflective insulation panels or foam boards to an existing metal door is a doable DIY project. It involves measuring each panel, cutting the material to fit, and securing it with retention clips or by sliding it into the panel channels. The weight you add changes the door’s balance, so after installing insulation you should test the door manually to see whether the springs need adjustment. If the door feels heavy or drifts down when opened halfway, don’t just crank up the opener’s force setting to compensate. That masks a balance problem and overworks the motor. This is the point where a spring adjustment from a pro becomes necessary.
These middle-ground jobs teach you a lot about how your garage door works. They also teach you where your knowledge ends, which is itself valuable information.
What Should Never Be DIY: Springs, Cables, and Loaded Systems
Now the hard line. There are three components on a garage door that should never be serviced by a homeowner, and the reasons are consistent: each one requires tools and judgment that don’t survive the “watch a video and try it” approach, and each one carries a real risk of serious injury when something goes wrong.
Garage Door Springs
Torsion springs are the most dangerous single component in a residential garage. They’re wound tight enough to lift a quarter-ton door effortlessly, and that tension never rests. When a spring snaps, the ends whip with enough force to break bone or worse. When a spring is replaced, the new one must be wound to a precise number of quarter-turns that matches the door’s weight, height, and cable drum setup. The winding bars themselves need to fit the spring cone exactly. A slip during winding is how people get hurt, and the fact that it happens to experienced technicians occasionally is the clearest argument for why a homeowner shouldn’t be doing it at all.
Even seemingly safe “just checking” work around springs carries risk. A cable that’s about to come off the drum can release the spring’s tension through the bottom bracket without warning. If you see a broken spring, a gap in the spring, or a cable hanging loose, stop using the door. Disconnect the opener and leave it alone until a professional arrives.
Cables and Cable Drums
The cables running from the bottom brackets up to the drums at the top of the door carry the door’s entire weight in tension. They look simple. They are not. A cable that comes off the drum while you’re working near the bottom of the door means the door can drop. The cable’s tension also affects how the door balances, which means replacing a cable correctly often requires adjusting the spring to match. Do one without the other and the door rides unevenly, then fails again within weeks. This is not a job where “close enough” works.
Full Door Sections and Panels
Replacing a single damaged panel sounds like it should be simple: unbolt the old one, bolt in the new one. The reality is more complex. Panels are under spring tension through the bottom brackets and cable system. If the door is a Raynor, a Wayne Dalton, or any other major brand, the panel design is engineered to work as part of a specific track, roller, and spring setup. Removing and replacing a panel means supporting the remaining sections safely, transferring the hinges correctly, and reconnecting the door without releasing the spring tension unexpectedly. Plus, panel replacement on anything but a very new door usually leaves you with a visual mismatch because the color has faded. Often the better financial decision is a full door replacement, which is a garage door repair and installation job for a trained team.
If the job requires a winding bar, a cable tension tool, or lifting a panel while under spring load, that’s the professional’s domain. The cost of a service call is less than the cost of a hospital visit, and that’s not hyperbole.
The Honest Cost Comparison: When DIY Saves and When It Costs More
Let’s talk money honestly. The DIY pitch usually goes something like this: “Why pay a technician when a $15 part and an afternoon of work gets the same result?” Sometimes that math works. Sometimes the real numbers tell a very different story.
Where DIY Saves Real Money
The jobs in our safe DIY list are genuine wins. Lubricant costs a few dollars per can and prevents premature wear on components that cost hundreds to replace. Realigning sensors costs nothing but time, and it’s the fix most people need when the door won’t close. Reprogramming a remote costs zero dollars if you still have the manual. Weather seal replacement runs $15 to $40 for the seal itself and saves the labor cost of a repair visit. These are real savings, repeated over the life of the door.
Where DIY Creates a Bigger Repair Bill
The math flips hard when a DIY attempt goes wrong. A botched cable attempt can strand a door halfway up, which in some cases means the door now needs the cable re-fit, the spring re-tensioned, and possibly a new drum because the old one got scored. A homeowner who tries to adjust a spring and over-winds it by two turns can stress the door’s panels and hardware until something cracks. A DIY panel replacement that misaligns the track can bend the track and strip the roller stems.
In our experience at Sherwood Garage Door Repair, the jobs that start as DIY attempts and end as service calls usually cost more than the original repair would have. Not because technicians punish DIY work, but because the first 30 minutes of the visit are spent un-doing what was done incorrectly. That’s labor time, billed honestly, and it adds up.
The Value of a Proper Diagnosis
There’s another cost most DIY calculators miss: the cost of replacing the wrong part. A door that’s slow or noisy might need lubrication, or it might have a failing roller, or the opener’s force settings might be off, or the spring might be losing tension. A homeowner who replaces the rollers when the spring was the real issue has spent money and time without fixing the problem. A professional diagnosis identifies the actual failure point in one visit. That’s why we always recommend starting with the free estimate and written scope of work rather than assuming the worst part has failed.
Permits, Liability, and Insurance for DIY Garage Work in California
Most garage door repairs don’t require a permit in California. Replacing springs, cables, rollers, sensors, and openers falls under routine maintenance and repair. The situation changes when you modify the structure around the door, such as enlarging the opening, changing the header, or installing a new door where none existed. Those structural changes generally require a building permit, and you should ask the city’s building department about their specific requirements for your project in Pico Rivera.
Homeowner insurance is the other piece most people don’t think about until after something happens. If a DIY garage door repair injures a visitor, or if a door falls because it was improperly serviced and damages a vehicle, the homeowner’s insurance policy may not cover the full claim if the work was done outside permitted and documented channels. Insurance companies ask questions when an unpermitted modification or an unqualified repair is involved in a loss. A licensed, insured contractor carries their own coverage, which shifts much of that liability off your policy. That alone argues for professional work on anything beyond simple maintenance.
The final piece is resale. If you sell a Pico Rivera home with a garage door that was modified or repaired outside code, a home inspector may flag it. Fixing it then costs more than doing it correctly the first time. The city’s building department can tell you what applies to your specific situation before you start.
What to Do When a DIY Attempt Goes Wrong
Every honest guide needs to cover this, because it happens. You start a job confidently, and 45 minutes in you realize something’s off: a bolt stripped, a cable slipped, a panel won’t line up. The most important skill at this moment isn’t mechanical. It’s knowing when to stop.
First, do not force anything. If a bolt doesn’t turn, stripping it usually happens in seconds and ruins the mounting point. If a panel won’t seat, forcing it can bend the track. If a spring you touched is now making noise, step away from it completely. The right move is to secure the door as close to its original position as possible and stop applying force.
Second, disconnect the opener. Unplugging it removes the risk of someone pressing the wall button or a remote while the door is mid-repair. That’s a real world problem, not a hypothetical.
Third, and this is critical: if a spring is unwound, partially wound, or visibly broken, do not try to “finish what you started.” A partially wound spring is unstable. Leave it and keep everyone away from the door. Close the garage’s internal door if there is one, and prevent the door from being moved.
Then call. Sherwood Garage Door Repair works on both the mechanical door and the drive system, which means one visit undoes the DIY attempt and completes the proper repair. The written estimate before work starts ensures you know the cost before anything else gets touched. A botched attempt is not something to be embarrassed about; it’s something to stop quickly.
Common Mistakes to Avoid
- Using the wrong spring torque. Springs are wound to match the door’s exact weight and height. Estimating “a couple more turns” leads to an unbalanced door that slams or won’t lift, and it’s the fastest way to ruin a new opener.
- Lubricating plastic rollers with oil. Oil on nylon rollers doesn’t stop squeaks, and on steel rollers it attracts dust and grime. Use silicone spray or white lithium grease, and apply it to the bearings, not the contact surface.
- Treating a noisy door as “just how it sounds.” Grinding, popping, or screeching is almost always a component warning before it fails. A door that’s been noisy for suddenly becoming quiet often means a spring just snapped and the opener is fighting the full weight.
- Ignoring a door that drifts down or up when stopped halfway. A balanced door stays put. Drift means the springs have lost tension and the opener is compensating. Running it that way burns out the motor eventually.
- Trying to remove a cable or bottom bracket with the door raised. The door’s full weight rests on those components. Unbolting one while the spring is wound releases force faster than you can react. Never work under a raised, unsupported door.
- Skipping the safety test after any adjustment. Every time you touch the sensors, springs, or opener force settings, test the auto-reverse by placing a roll of paper towels under the closing door. If it doesn’t reverse on contact, your adjustment made things worse, not better.
See the difference
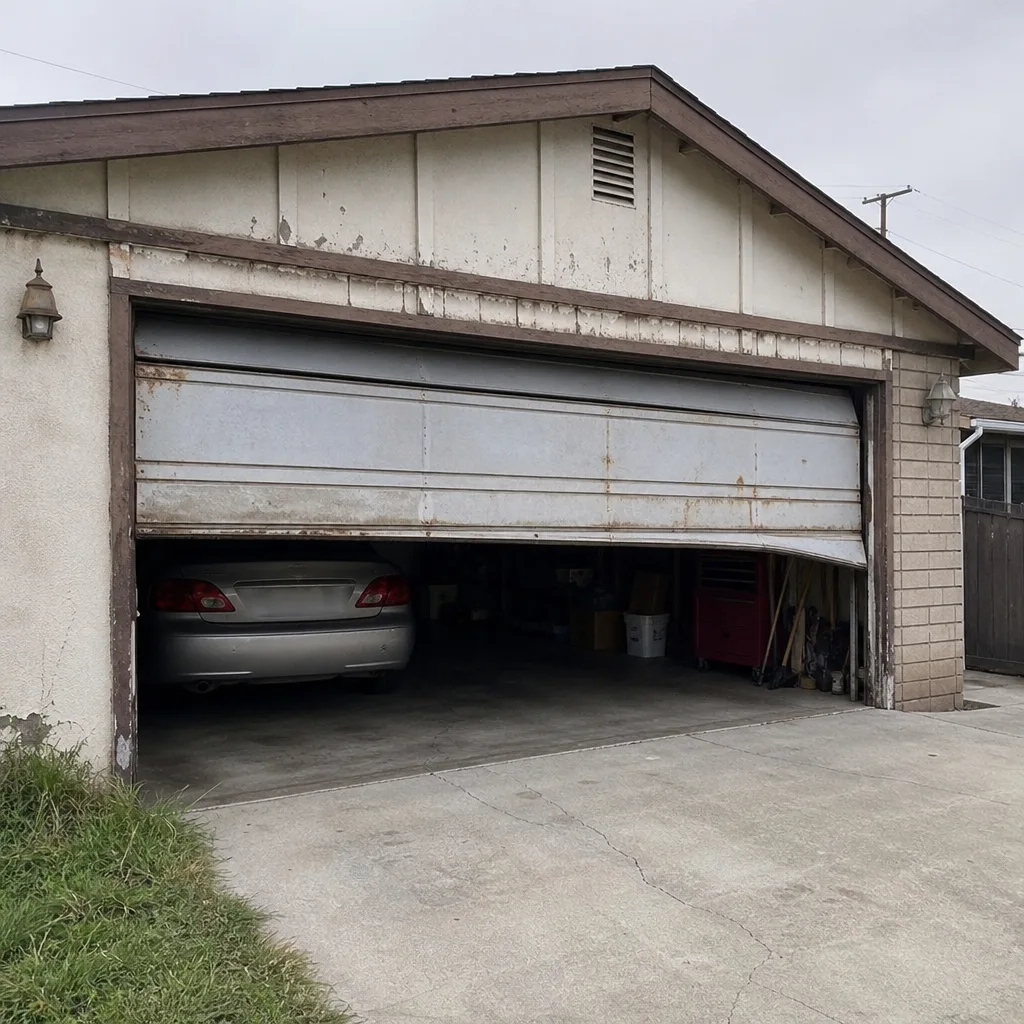 Before
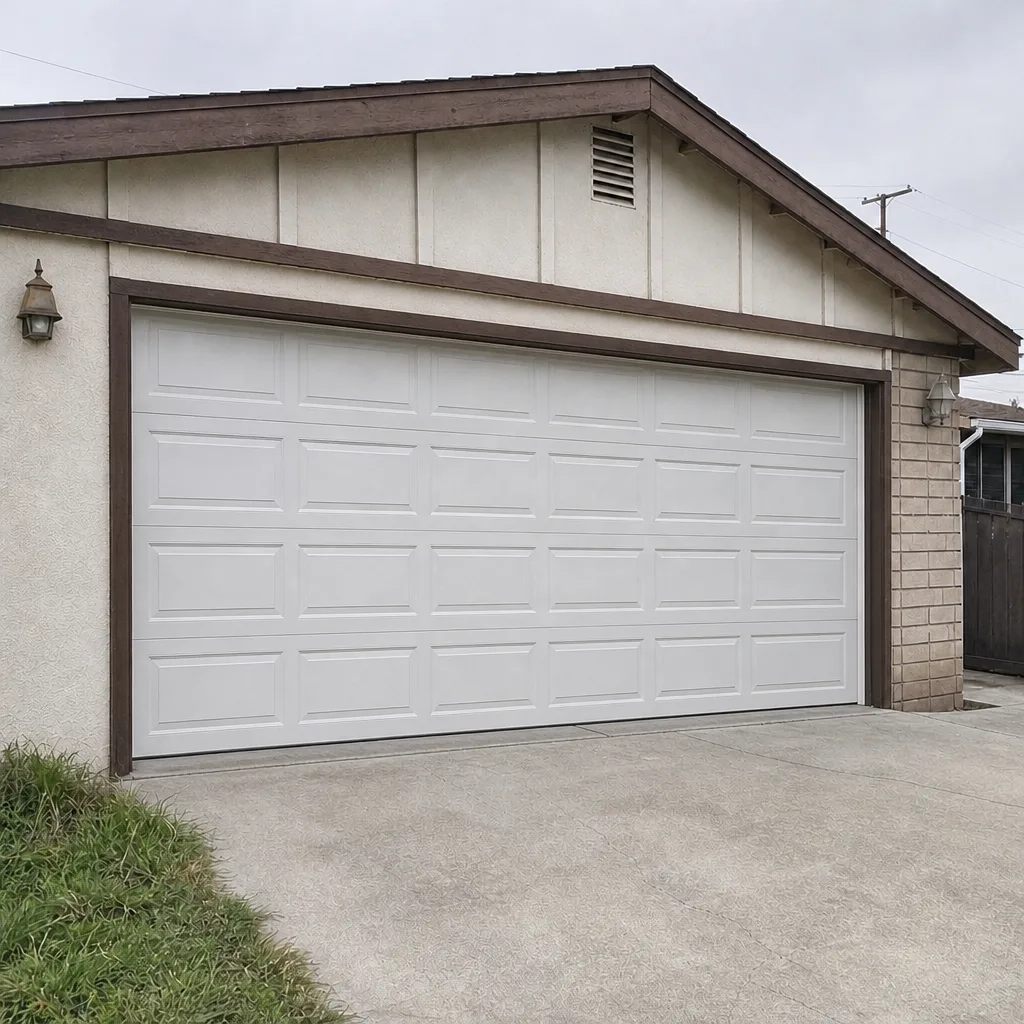 After
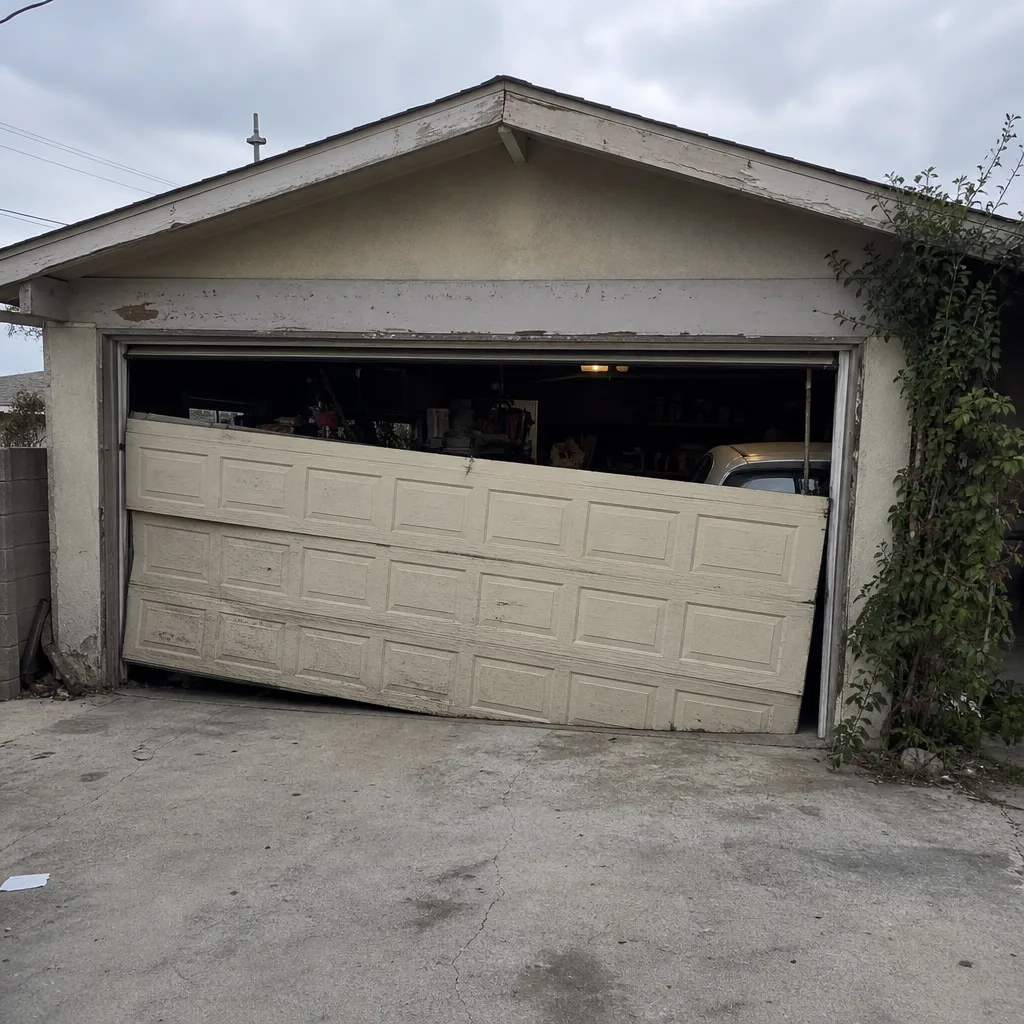 Before
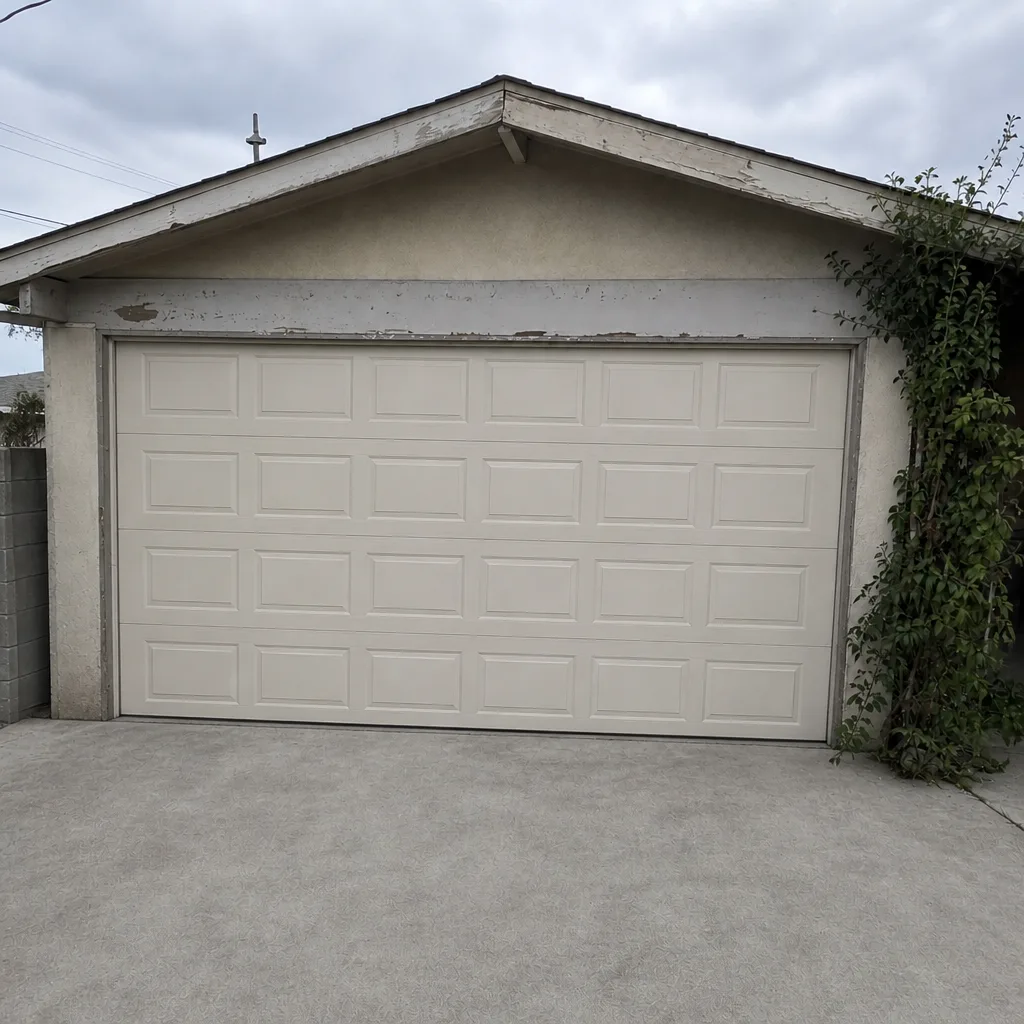 After
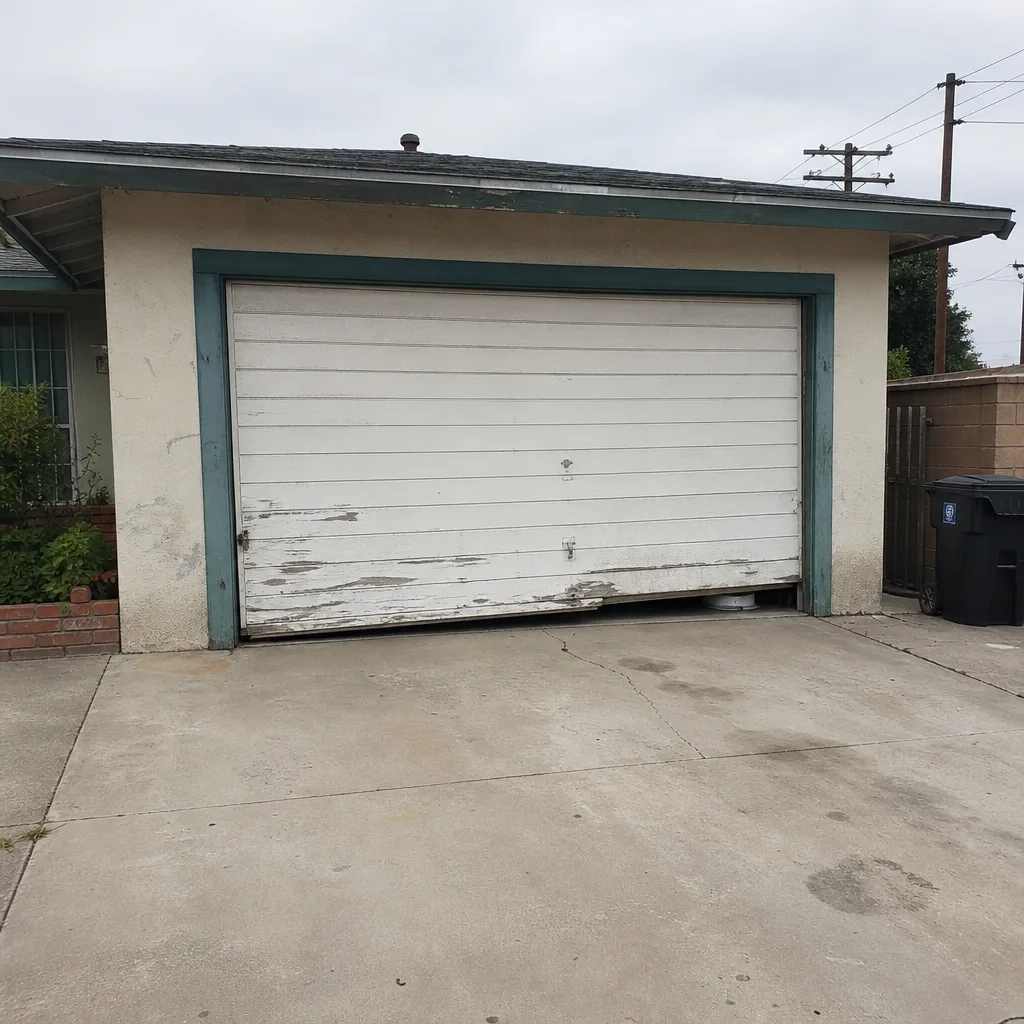 Before
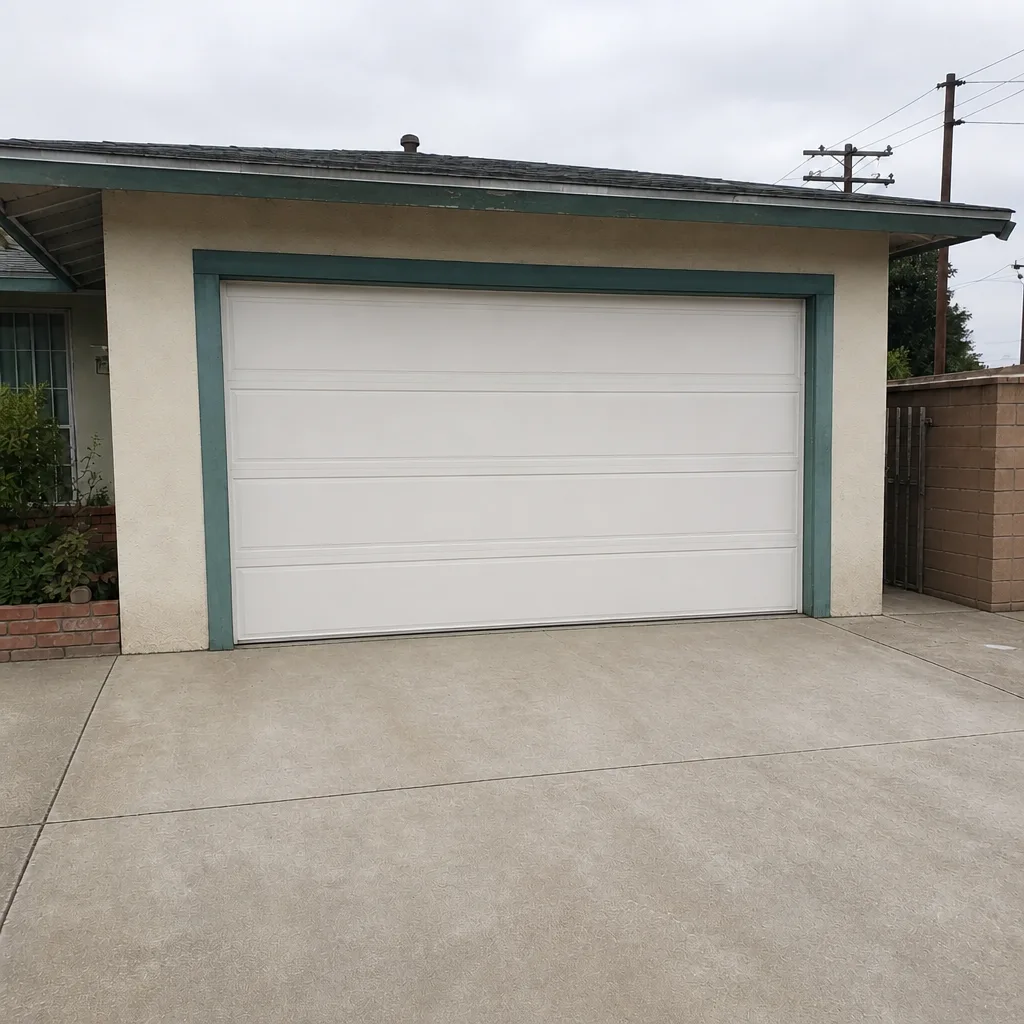 After
When to Call a Professional
Call a professional when the job involves a spring, a cable, a drum, or a full panel. Call when the door won’t balance, when you’ve already tried a repair and it didn’t hold, or when the noise has changed from “annoying” to “new.” Call when you’re not certain what’s wrong and don’t want to guess. Sherwood Garage Door Repair offers free estimates in Pico Rivera, and we work on whatever’s already on your garage, whether that’s a Wayne Dalton door, a Raynor panel, a LiftMaster opener, or a legacy Craftsman system. We diagnose by the symptoms, not by a script, and the written quote before work starts means you know the number going in. Call (866) 618-5424. We answer 24/7. Fast dispatch from 7am to 7pm, Sunday through Friday.
Frequently Asked Questions
Replacing a roller on the vertical track is usually safe because the door’s weight is resting on the ground or held by the opener, and the tension on the roller is minimal at that point. Replacing a roller on the horizontal track is a different story: that’s where the spring tension concentrates, and removing the wrong roller can twist the door or release the cable. If the roller you need to replace is above head height, call a professional.
A spring nearing the end of its life often shows a visible gap in the coils, rust where the coils touch, or a slight imbalance where the door drifts down when opened halfway. A spring that’s about to fail may also make a ticking noise as the coils bind and release. If you see a gap in a torsion spring, stop using the door and have it replaced. Springs don’t give a final warning, and assuming you have time is the most common mistake we see in Pico Rivera.
The cost depends on the repair. Sensor realignment and remote programming are usually quick fixes at the lower end of the range. A spring replacement, cable assembly replacement, or opener swap costs more because of the parts and time involved. Every job gets a written estimate before work begins, so the price is agreed upfront rather than discovered later. Call (866) 618-5424 for a specific quote, and the estimate is free.
No. The opener is designed to move a balanced door, not to lift 300 pounds of dead weight. Running the opener with a broken spring strains the motor, strips the gears, and can pull the door off its tracks. Disconnect the opener and leave the door down until the spring has been replaced professionally.
Potentially, yes. Routine repairs like spring and sensor replacement don’t require permits. But if you modify the door opening, install a new door that changes the structure, or perform unpermitted electrical work on the opener circuit, an insurer may question a related claim later. Ask Pico Rivera’s building department before starting any structural work, and keep documentation for any professional repairs you do schedule.
We repair what you already have. Sherwood Garage Door Repair is brand-familiar rather than brand-locked. That means we’re factory-familiar with doors and openers from LiftMaster, Chamberlain, Genie, Clopay, Amarr, Wayne Dalton, Craftsman, and Raynor, and we recommend the right fix for your existing system rather than steering you toward a specific manufacturer because it’s convenient for us. Whether it’s a legacy Craftsman opener or a new myQ-enabled LiftMaster, one call covers the whole door.
The Bottom Line
The DIY vs. professional decision on a garage door comes down to one question: does the job require touching stored energy or not? Lubrication, sensor alignment, remote programming, and weather seals are safe, satisfying DIY work that saves you money. Springs, cables, drums, and full panels are professional jobs where the risk of injury and the cost of a botched attempt far exceed any savings. When in doubt, start with a free estimate. A diagnostic visit tells you what’s actually wrong and what it costs to fix, which means you’re making an informed decision either way.
Written by the team at Sherwood Garage Door Repair, serving Pico Rivera since 2011.